Définition
For indirect lighting, we mean the fact to light an object to make it appear gradually in the photo. By illuminating or not illuminating an object, you can very easily play with reality.
Master the indirect lighting is very useful in Light Painting.
Enlighten, color, highlight your subject
With a color lamp, illuminating a scene, objects, people, it is easy to create amazing effects. Simply place in an atmosphere where the light is low enough that your lights are used to color the objects by enlightening.
- Color a scene
- Put yourself in a room with bright walls and have fun repainting by illuminating different areas with different colors.
- Create an atmosphere
- By illuminating the scene with artificial colors, create amazing atmosphere for your stagings.
- Color an object
- Surprise your viewer by coloring a known object of an atypical color.
- Highlight
- Depending on the color and the lighting time of an object, highlight objects or persons. In a dark scene, a bright light will automatically highlight an object or area of the photo, it's mechanics!
- Remove, Hide
- Conversely, only illuminate a portion of an object, do not enlighten an area of your photo to hide it's content. For example, only illuminate the faces or parts of bodies of your characters.
- Tricks
- It is by combining all these techniques that we come to interesting results. So compile, mix, combine techniques for best results.
Superpositions
Indirect lighting allow effects superiosion to realize pictures that are totally impossible with normal pictures. Work in the dark then allow to imagine very complex picture arises because there is no time limit.
It is by playing with overlays the name "Light Painting" become significant. The light lets you paint objects, part by part, one after the other. By moving objects, hiding the others, everything becomes possible.
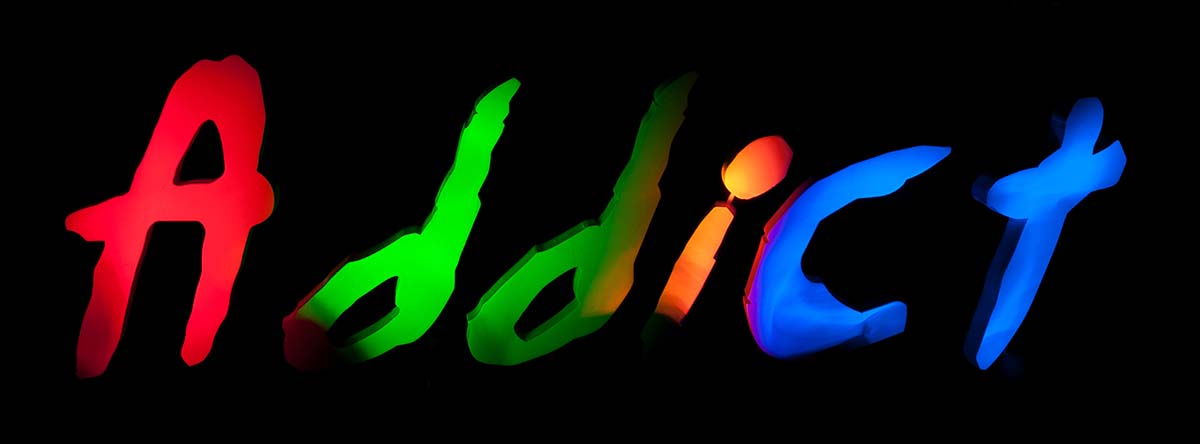
Example 1 : Object Coloring
In the picture below, we used our 10 colors flashlight. By placing a small guide to to reduce the beam size, we could specifically target and paint our beautiful model which is white originally.
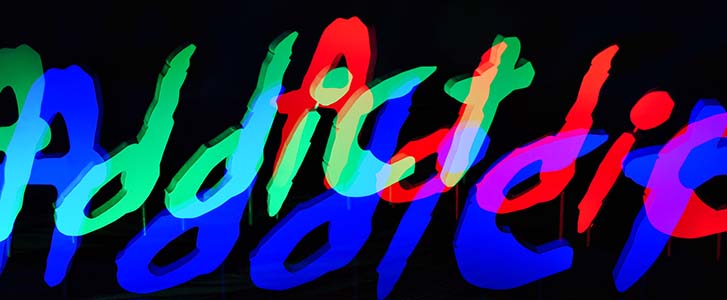
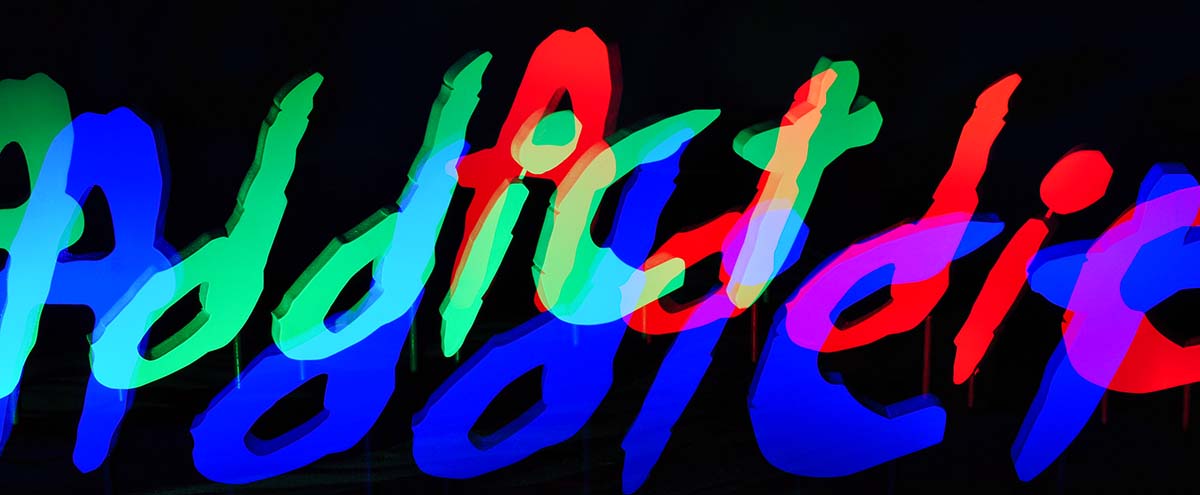
Example 2 : Superpositions
In the picture below, we used MICROLED. The picture took place in three phases. Each time, we have moved the model to enlight in a different color, blue, green and red. Thus, the same object is superposed three times in the same picture!
Comments
Leave your comment