Goal: Use LED strips to make your own light bars!
In this tutorial we will see together how to build a light bar using LED strips.
The LED strips are increasingly used nowadays for decorative lighting for example. So why not use them to make your own Light Painting tools ??
The use of LED Strips requires a minimum electrical knowledge. However, the possibilities are very wide and there is still much to be invented! So why not get started?
What to do with it?
The first use that comes to mind? Make my own lights and sticks to upholster my apartment with bright streaks!
But think about it, we can also imagine many forms of tools. Of all the forms but also all colors by combining the primary colors to get more and more surprising results.
Once again, you need to work your creativity, or reproduce any of the tools that you find in the following articles.
Necessary Tools
To use LED strips, you will need at least the following equipment:
- A soldering iron.
- A Soldering Wire Reel.
- A side cutter.
- Screwdrivers and other small tools.
- Insulating Scotch (catnip) and / or plastic fasteners.

Necessary equipment
As a first test, we suggest you make a very simple glow stick. For this, you will need the following equipment:
- 12V LED Strip
- There are all types, all sizes, choose according to what you want to do. Here, we will take monochrome strips, not need of a controller, but also the capability of mixing colors. Ideally, we sell it as retail (10cm) on the site, but you can buy 3 or 5 meters in any DIY store. ;-).
- 2 wire cable
- Ideally red / black. The speaker cable sold in supermarkets for example. Be careful not to take it too small nor too large. In the first case they will melt. In the second, you will have more difficulty making connections and welds.
- A switch
- A compact push button, easy to fix. If possible, a push-to-make button, as the name said when you press switch the circuit is closed. Where can I find it? DIY store, yes, but also in any old appliance.
- A support
- To fix everything, take a piece of wood or plastic, long and thin. It must be rigid enough to fix the strips and not metal to avoid short circuits!
- Power Supply
- To power it off, take a 9V, 12V battery pack or AC/DC converter if you are at home. All that can power your stick between 9 and 12V and be plugged / unplugged easily. We will have a big preference for all battery packs equipped with a 2.5mm jack connector to remain as standard as possible. You will find some in our site, it's not a coincidence...
Recycle!
For this example, we chose only the materials recovered from old products. In the end, the cost is almost zero, but performance is still the same.
Trick
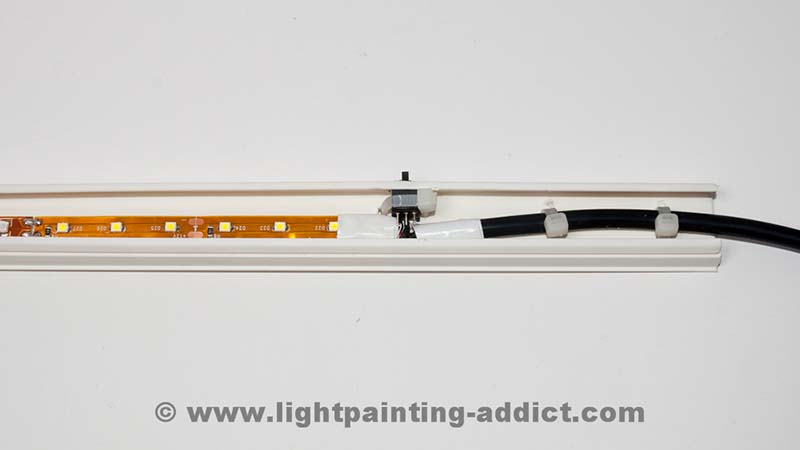
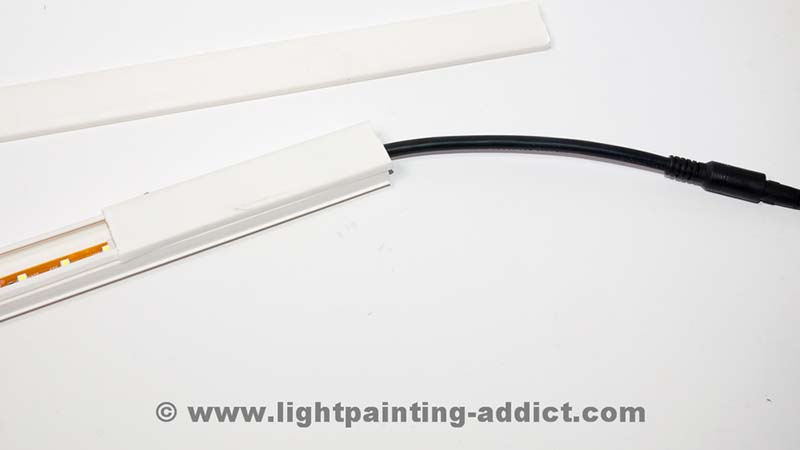
Little more, the use of electrical trunking as main support provides several advantages. First, the plastic is easy to work, fully insulated and heat resistant. Then it's a lightweight, flexible and robust. Finally, the biggest advantage is to play with the hood to create different effects.
Assembly
Come on! Go! Assemble everything step by step.
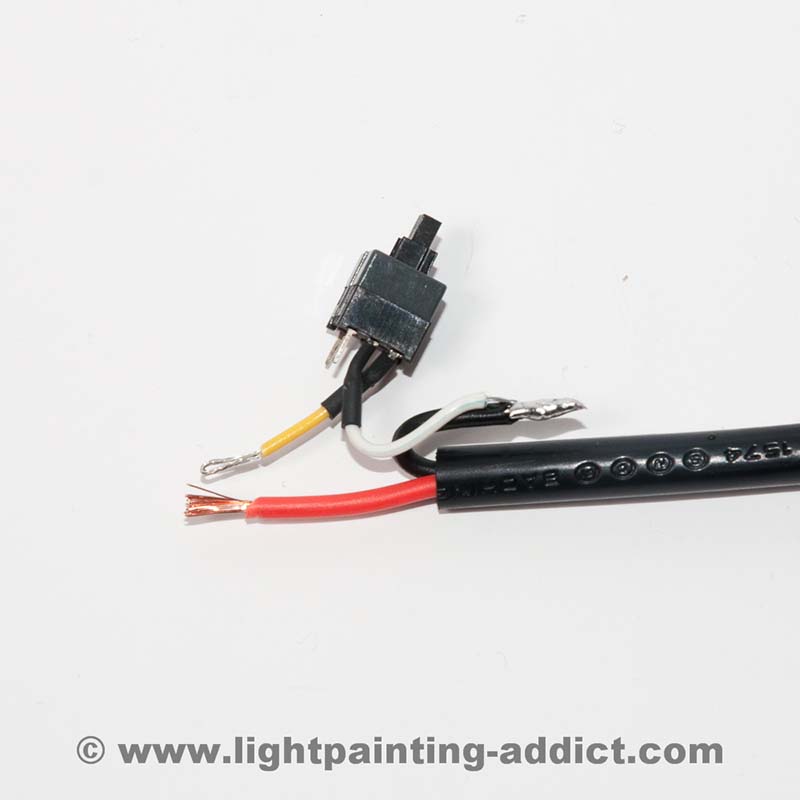
- Step 1
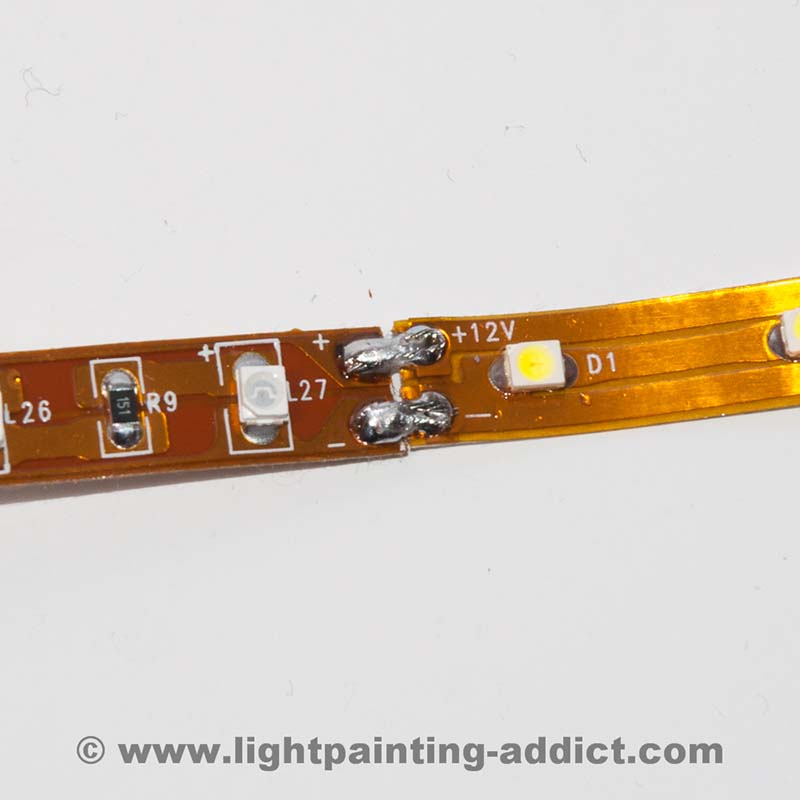
- Connect the negative contact (-) of the strip to the negative terminal (-) of your battery With black wire, solder one end to the negative pad (-) at the end of the strip, and then connect it to the negative terminal (-) of the battery.
- Step 2
- Connect the positive contact (+) of the strip at the entrance of the switch. With the red wire, solder one end to the positive pad (+) at the end of the strip, and connect it to the switch.
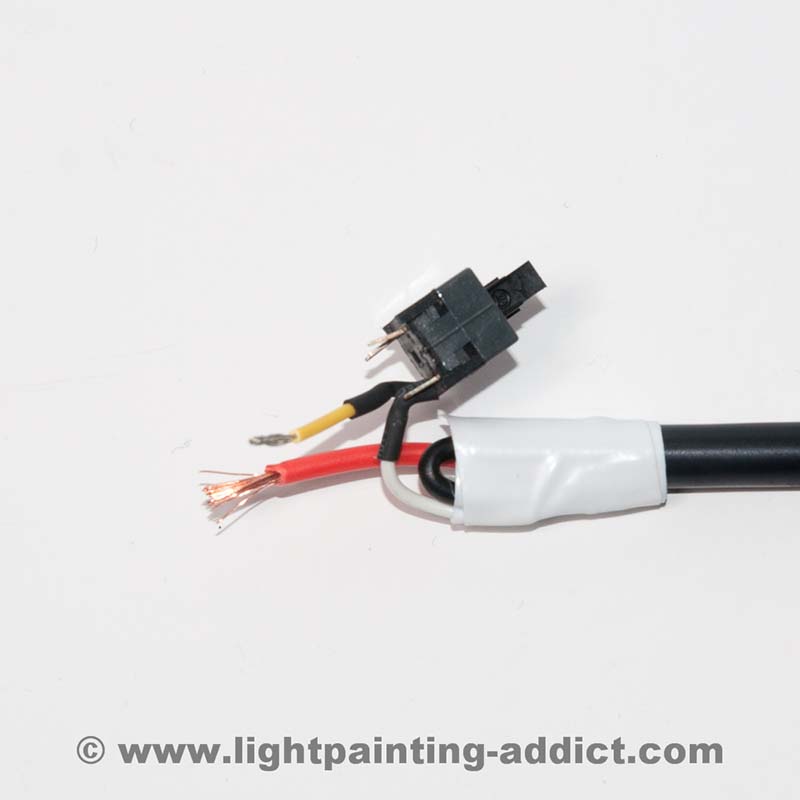
- Step 3
- Connect the positive contact (+) of the battery to the output of the switch. With the red wire, connect the output of the switch to the positive (+) terminal of the battery.
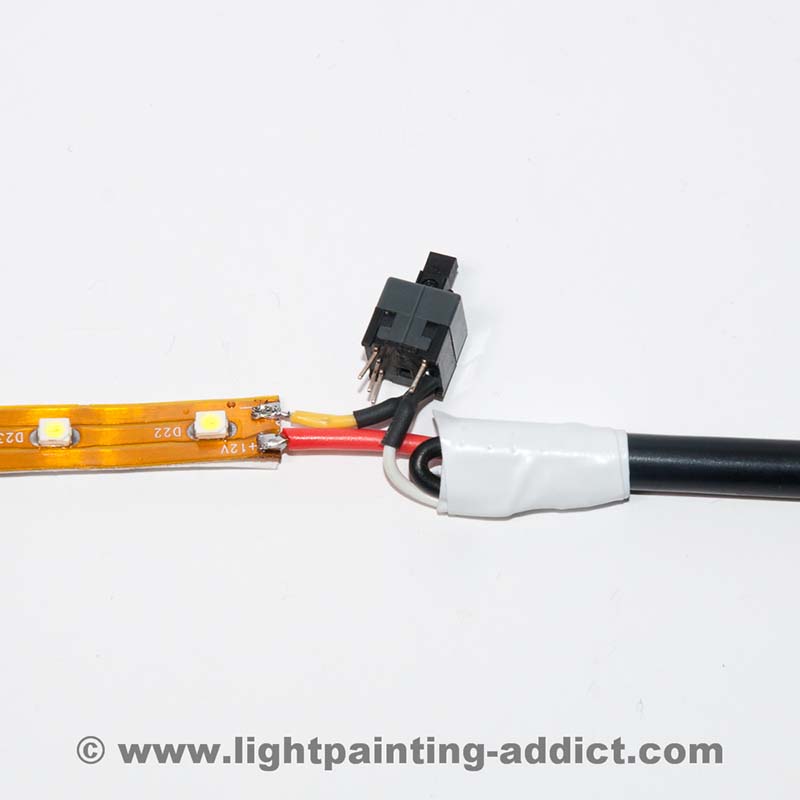
- Step 4
- Test the installation. The switch must now be able to control the LED strip.
- Step 5
- Attach the strip at the end of the stick with the Scotch or plastic fasteners. Leave a few inches free to keep a good hand grip.
- Step 6
- Attach the switch and the battery. If your battery is fairly compact, use you as a handle by fixing it on the free part of the stick. The switch must be placed just before the strips it must be easily accessible when you hold the tool in hand!
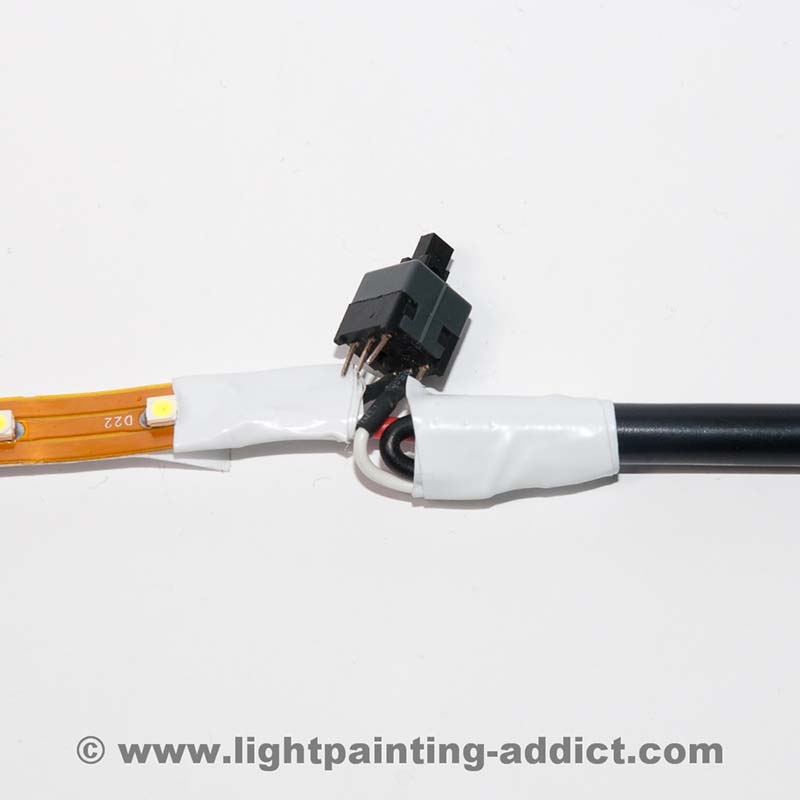
- Step 7
- Finish.
With Scotch, protect and stiffen the assembly by surrounding it with Scotch.
Customize your tool
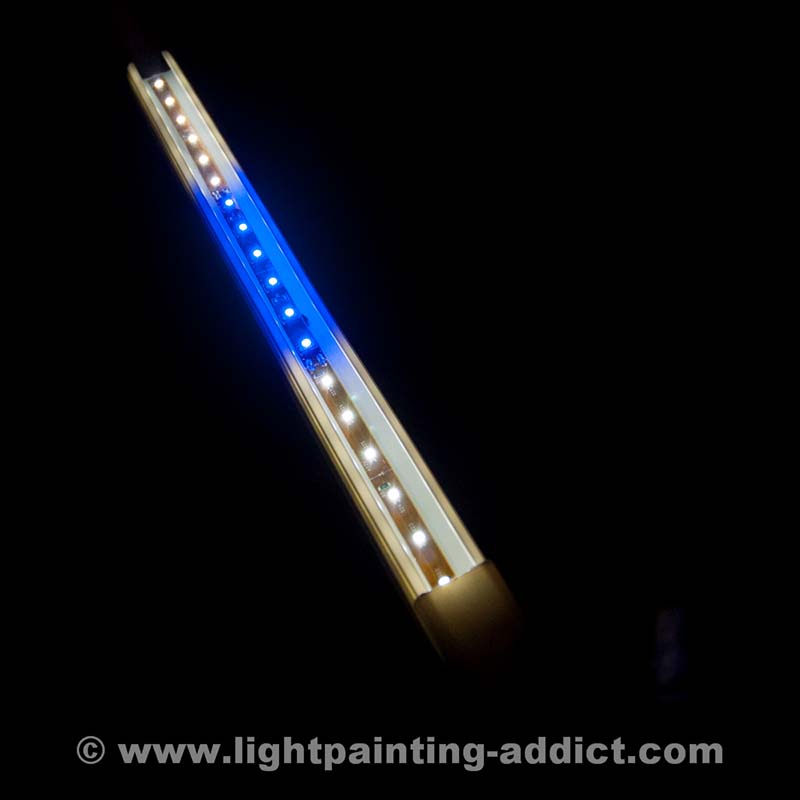
For best results, it is better to mix colors, so if you have bands of different colors, remember to use them by plugging them one after another. Be careful to the polarity!!!
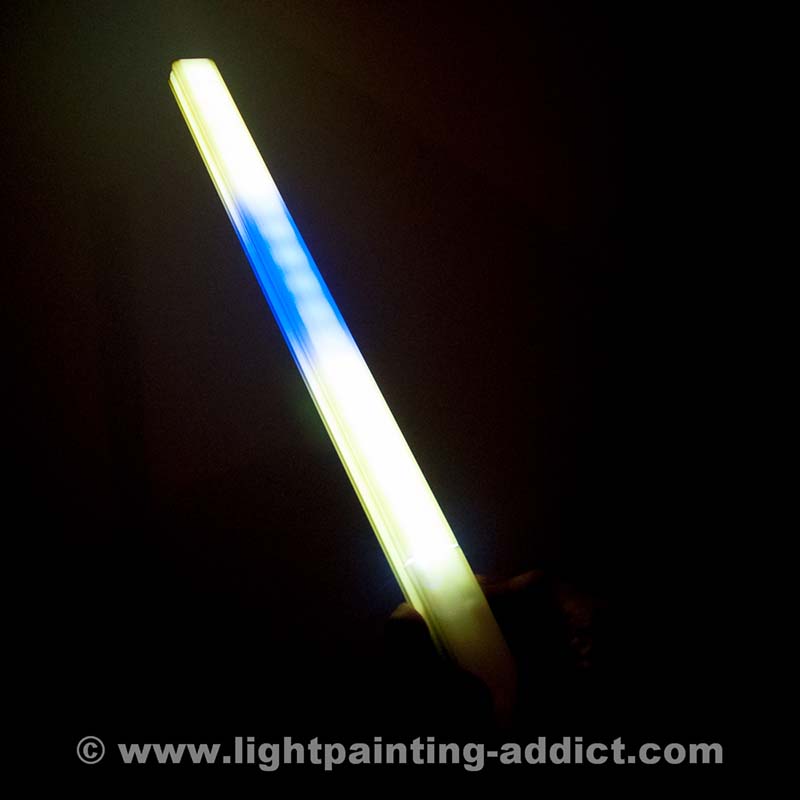
Result
And here is a simple light stick, cheap and ready. It only remains to connect the battery and start playing!

Comments
Leave your comment