Definition
The ISO sensitivity is the sensitivity of the photosensitive surfaces (the film for film camera, digital photo sensor).
The higher the sensitivity value is, the higher the sensor is sensitive to light, and the less amount of required light is great.
When we made photography "classic", one is often tempted to use a high sensitivity to reduce the exposure time and the risk of a blurred image. But a strong sensitivity influences the result, the image shows more grain and provides a lower definition. This alteration of the image is mostly not a problem, but it must be taken into account according to the result to be obtained.
For more information, please visit Wikipedia
Usage the ISO sensitivity in Light Painting
When making the Light Painting, working on long exposures, then there is virtually no more image quality problem. However, the ISO sensitivity becomes a very practical parameter to fit the light conditions in which we work.
ISO sensitivity is a compromise to find for every situation. Reducing the ISO increases the exposure time, we then have more time to complete the picture, but the lights used should be more powerful. By increasing the ISO sensitivity, you may work with sources of very low light and achieve very impressive effects, but the risk of visual defects is multiplied.
ISO sensitivity is a key parameter when you want make Light Painting. Understanding this setting and know how to use will be useful correct many defects.
Goal: Understanding the impact of the ISO sensitivity in Light Painting
If you need to experience, set your camera on a fixed configuration. In our example, F/11 and 5 seconds exposure. Then make tests with different ISO sensitivity values.

Test ISO 800
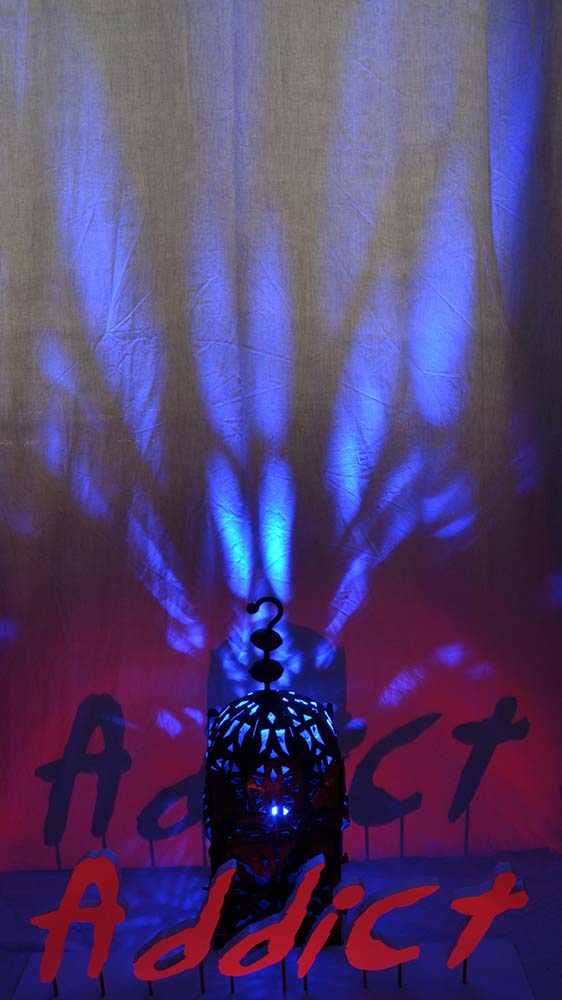
Test ISO 800

Test ISO 800
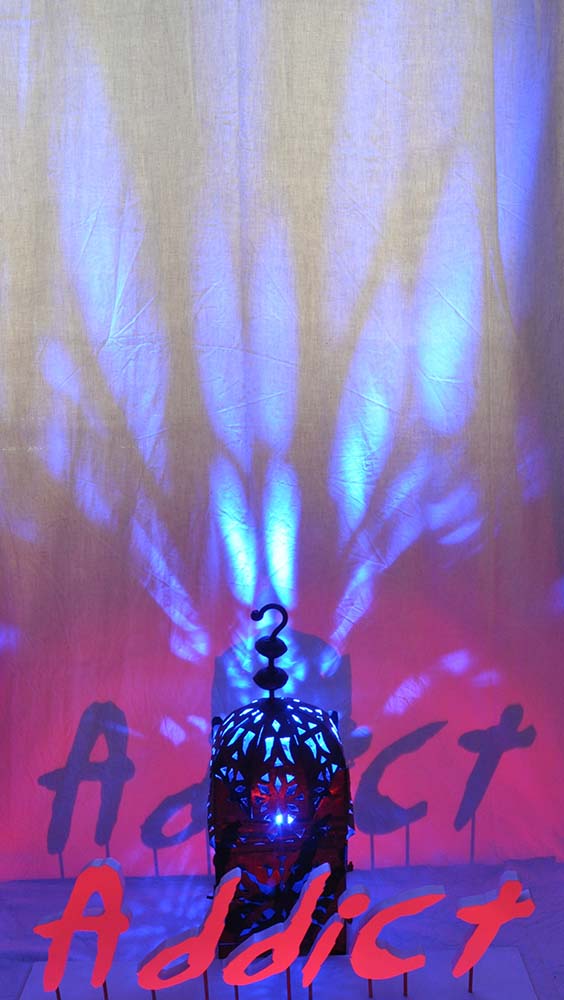
Test ISO 800
Look at the tests we have done, we can clearly see the brightness variation. Here, it seems clear that ISO 100 is too dark. at ISO 400 and 800, we have the impresion of seeing a veil of white light, these photos are overexposed. Our choice was therefore focus on ISO 200 that seems to be the best one for 5 seconds exposure.
Comments
Leave your comment