Goal: Take a picture in Light Painting with ambient light
In this article, we will learn how to adjust our camera to make Light Painting photography with ambient light.
Reminder: to setup your camera easily, please use the user manual. SLR cameras are often complex to use, some parameters are only accessible by performing key combinations. Thus, you save time.
- Equipment
- Your device. Indeed...
- The user manual of your camera.
- A light source: flashlight, mobile phone, all you will find...
- The scene
- For a first test, it is better not to have too powerful light. Soft lighting, simple and colorful (why not?), it will be perfect. After setting the light, prepare your staging. In our case, the staging is quite simple, our logo and a white background ...
- Framing & Exposure Time
To adjust the framing and focus, go back to Full Auto mode and experiment. When there is ambient light, use it! Then, don't forget switching back to manual mode...
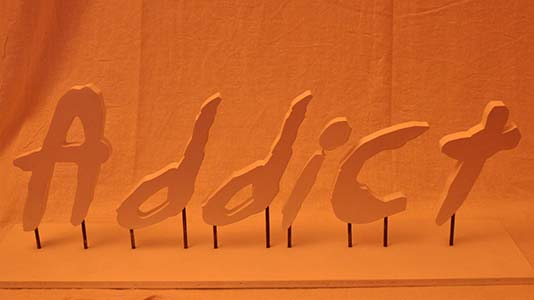
Test Picture - Full AUto Mode F/3,8 - ISO 1600 - Expo 250msec

- Settings
- To make drawings, we need time, so we'll close our diaphragm and much further reduce the sensitivity of our camera. For example: Focal F18 and ISO 100 . With these settings, we should have enough time to have fun.
- Exposure time
- After completing the configuration, choose the exposure time. This time must be correctly chosen because it is the exposure time that will define the brightness of your photo. The easiest way is to find the ideal exposure time by testing. By making a few pictures with exposure time of longer and longer, you would find the exposure time which give the best result. You may also need to refine your ISO and aperture settings so that the exposure time matches your needs. You will see that with experience you will quickly find the right configuration.
- Trick
- If your exposure time is less than 30 seconds, use the aperture priority mode of your device (A Nikon | Av on Canon). This way, it's your camera that will choose the best exposure time for a perfect brightness. Perfect for beginners, right?
- Focus
- If like us, you've kept enough light, your camera should be able to do the focus itself. Beware, it is not always the case. So better take advantage of the situation to continue your training to switch to manual mode once the focus is done.
- Shoot!!!
Let us now see what you're made of! Now that the settings are done, you have a setup that allows you to make a nice picture over a prolonged period, only remains to draw.
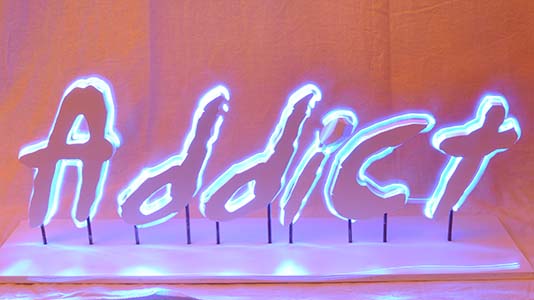
Test Picture - LightPainting in Manual Mode F/22 - ISO 100 - Expo 95sec

- Result??
- Here we are, it will surely require many tests before you get a result that meets your expectations, but it's normal.
Any flaws ?? We will see in the following articles how to correct them ...
Comments
Leave your comment